Outlook Ruler Helpful To Align Messages, Everybody is like the ruler in Microsoft Word which helps you measure things like indents easily. By default, the Microsoft Outlook ruler is missing in action.
This article will teach you “how to show ruler in outlook”, and how Outlook rulers can help all users.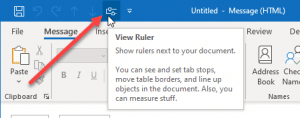
How to view ruler in Outlook?
Setting the margins in Outlook is just another tick in the box when it comes to customizing your Outlook experience. Before that, how to enable the ruler in Outlook.
The ruler is a layout tool used to help you align text, graphics, Outlook tables and other elements on a project. Here’s how to add the ruler button to your Quick Access Toolbar.
- Best Mouse for Jitter Clicking in 2022
- Outlook Developer Tab Missing
- Outlook Quick Access Toolbar
- First you have to open Microsoft Outlook
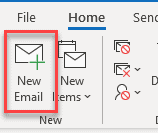
- Then Click on New Mail, from the Home tab.
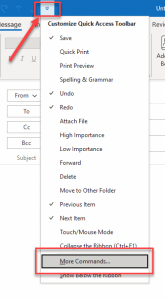
- Now click on the Launcher key from the top left corner of the new email message window.
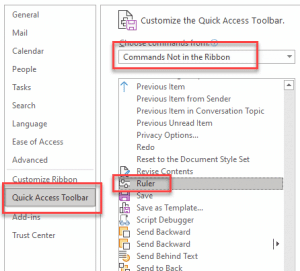
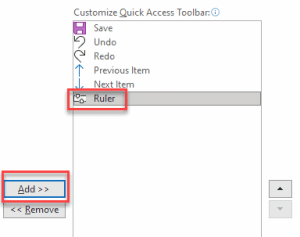
- When in the Quick Access Toolbar, Here select Commands Not in the Ribbon, in the Choose commands from the list.
- After that click Add, Outlook ruler added in the quick excess toolbar.
Check your quick access toolbar for a ruler icon , then click it. Next, click the horizontal ruler option.
How to view ruler on ms outlook emails shortcut keys?
To use the ruler when you have outlook open, simply click on the little icon that looks like a ruler in your quick access toolbar and then hit enter (or whatever number shortcut you set up!) and viola! The rule is right there at any time.

How Outlook Ruler Help User?
When composing an email message, you can’t tell if it will look good or not until you send it.
Wide horizontal screens with long lines of text look quite messy and hard to read, Outlook Ruler Helpful To Align Messages, so take advantage of the ability to compose emails as email messages so as not to waste time standing over an extended screen trying to figure out how your email’s going to turn out.
It’s far less irritating on the eyes to read an email with reduced margins than subjects on both sides of the page.
Margin is adjusted in Page setup. Here’s a quick tutorial to show you how:
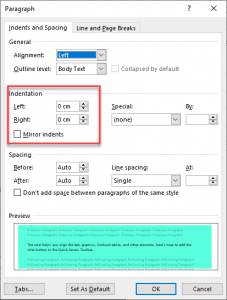
- First double click on the Expander any icon (left or right) to open the Paragraph Dialog Box.
- By default both left and right indicators set on zero.
You can change the margins on all new documents by choosing All documents based on NormalEmail.dotm template from the New dialog box.


Hello, My name is Shari & I am a writer for the ‘Outlook AppIns’ blog. I’m a CSIT graduate & I’ve been working in the IT industry for 3 years.
