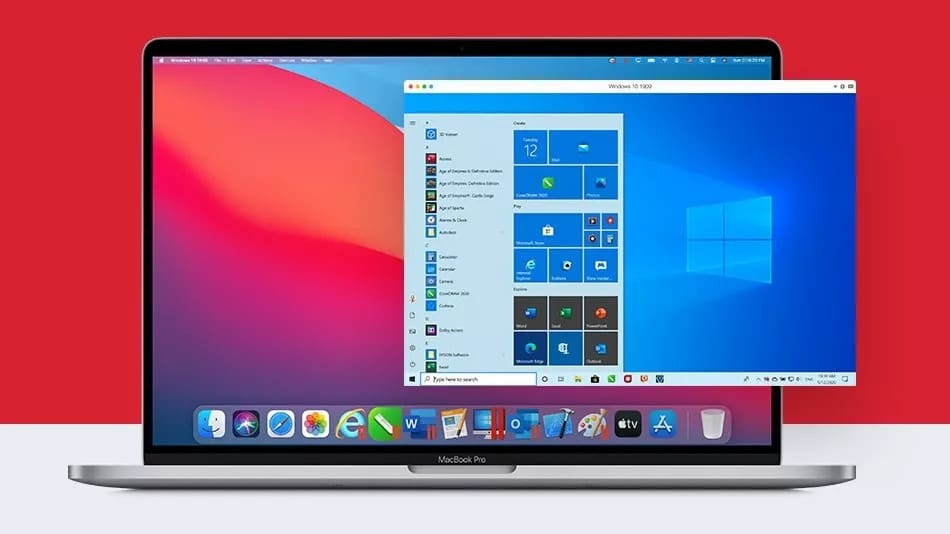
Purchased new MacBook Pro 14/16 Inch? If yes, then you might be looking for a protective MacBook sleeve and case to safeguard your device, and along with that, you also want all your data to be transferred from your old computer to the new MacBook Pro. So here, in this article, we will show you how you can migrate all your data from your old PC to the new MacBook Pro M1.
How to Transfer Your Windows Data to MacBook Pro M1
Before moving ahead, there are a few things that you need to consider, So let’s check out that.
- Make sure that both the devices MacBook Pro and your computer are updated and have the latest version installed.
- Both the computers are connected to the same and stable Wi-Fi network.
- Last, you need to uninstall Microsoft OneDrive during the Migration Process. You can always reinstall it after the migration has been completed.
Check Hard Drive Health of Your Windows Computer
- Go to Run from the App search bar.
- Type cmd and hit enter button from your keyboard. Now the command prompt opens.
- Now, type chkdsk and press enter.
If you are finding any issues, go ahead and type the below-mentioned command in the command prompt.
- Type chkdsk drive: /C (Note: Main Hard drive almost in C) and hit enter.
- And then, type Y, and restart your PC.
- Repeat the step until it shows no issues in the Hard drive.
The process to move data from PC to new MacBook Pro.
On your new MacBook
- Open Migration Assistant from the Launchpad.
- Now, click on Continue.
- Next, the Migration Assistant will ask you, “How do you want to transfer your information”?
- Choose the second option: “From a Windows PC” option.
- And tap on the Continue button.
On your PC
First of all, you have to download Windows Migration Assistant. To do that,
- Download and install the Windows Migration Assistant based on your current macOS.
- Follow the same steps on your PC, but for now, select the third option: “To another Mac”.
- And tap on the Continue button.
On your new MacBook
- Now, choose Your PC from the list of available computers on your MacBook and then tap on Continue.
On your PC
- After that, wait for your PC to display the same passcode as your Mac and then tap on Continue.
On your new MacBook
- Select the data you want to transfer from PC (including files, emails, user account, and so on) to MacBook Pro. Then tap on Continue.
- Here you need to set a password on your Mac. For that, use your PC’s admin password for the new MacBook Pro.
- After that, click on Continue to transfer selected information.
- Once the data transfer process is completed, you need to quit Migration Assistant on the PC.
- Tap on Done on MacBook Pro.
- At last, Log in and complete the settings on your Mac.
That’s it.
I hope you have successfully migrated all your data to new MacBook Pro M1. If you are facing any issues while moving your Windows data to MacBook Pro M1 then do lets us know your problem in the comments section below.