We can connect an HDMI TV or monitor to a Windows 11 computer for any number of reasons, such as educational purposes, watching movies or even just connecting multiple monitors. The external monitor can also be set up using the HDMI port.
In any case where you’re displaying a video or image, you need to make sure the screen settings are configured correctly. Otherwise, the resolution and frequency may not be optimal, which can result in a subpar visual experience. This is especially important to keep in mind when using a 4K or UHD display.
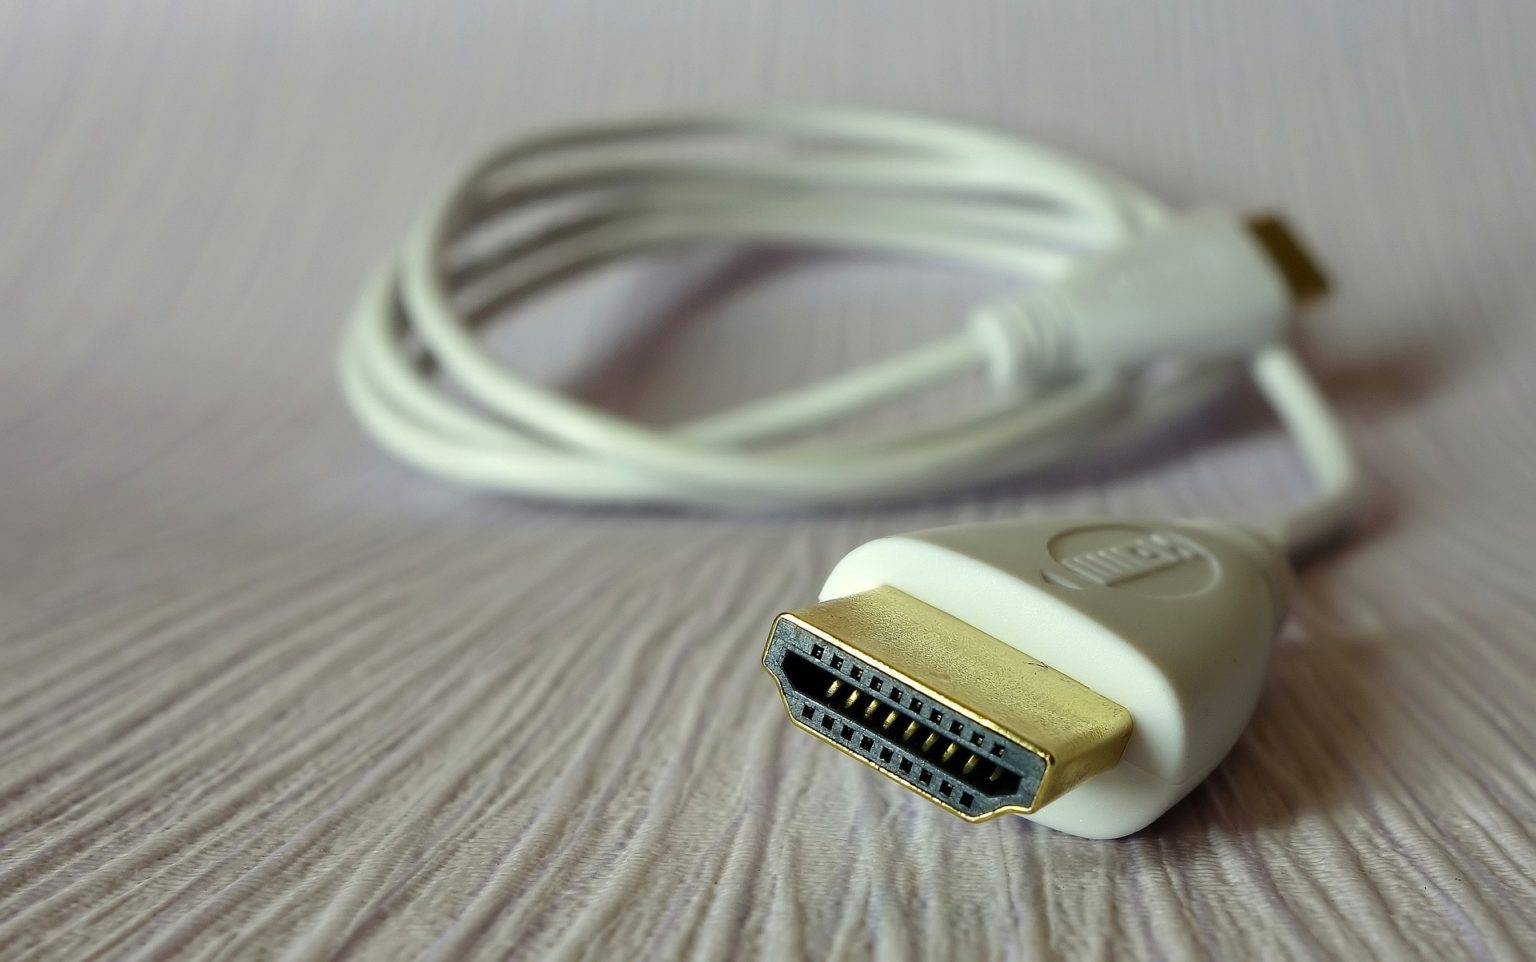
The HDMI cable is one way you can connect an external monitor to your Windows 11 PC. You can also check for optional updates for HDMI devices and monitors.
Before you change the settings, you’ll need to install the right display drivers. When you’re first setting up, the computer will automatically look for the recommended windows settings. If it doesn’t find them, you may need to adjust your HDMI screen settings.
If you’re trying to show your Windows 11 computer screen on your TV, there are a few things you need to check to make sure it’ll work. First, check that the HDMI connection is secure on both the TV and computer. Then, take a look at the display settings on your computer and make sure they’re compatible with your TV. Finally, adjust the image settings on your computer to fit your TV screen.
Before making any changes, double-check that your HDMI cable is plugged in securely to the right port. You should see and hear the video and audio just fine. If not, make sure you’re selecting the right port and display unit. If you faced issue with Fix Windows 10 HDMI Sound Not Working.
Why do you need to correct Windows 11 HDMI Settings?
If you’re someone who wants to keep their computer use limited to just their pc screen, then you won’t have to worry about making too many changes to your settings. The only thing you might have to do from time to time is update your Windows drivers.
Why do you need to correct Windows 11 HDMI Settings ?
Multi monitor setup is an interesting feature in the Windows 11 screen settings. If you have multiple displays connected to the same computer, you can choose which one is the default. This can come in handy if you are using different monitors for different purposes.
You can change the screen brightness in the HDMI settings to better suit your needs. If you find the color to be too heavy or the contrast to be too bright, you can adjust it accordingly.
Make HDMI monitor as default Display
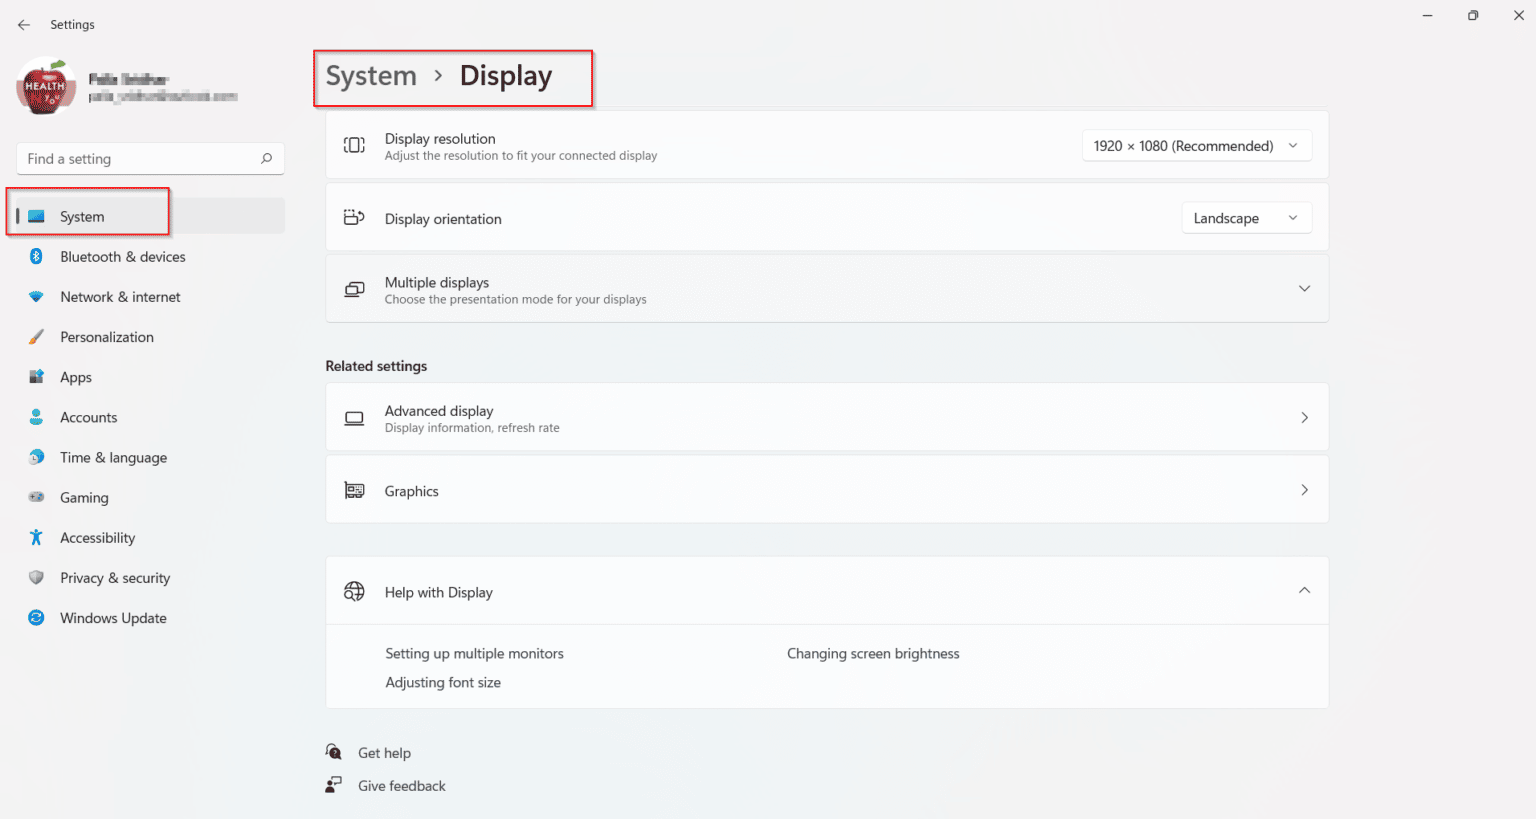
- Press Win + I keys to open Settings app.
- Click System on the left and Display on the Right-hand side.
- Note: Windows 10 settings are a little different.
- HDMI screen settings are visible here.
- Click on Multiple displays under the Scale & layout section.
- Make this my main display option visible if there are multiple monitors.
- Check it and the HDMI screen becomes the default display device.
After making your monitor or 4K UHD Smart TV the primary display, you might want to explore the other HDMI settings. The options for those are found under the display setting.
Different Windows 11 HDMI Screen Settings
- Scale
- Display Resolution
- Display orientation
- Night light
- Color Profile
- HDR
Let’s see the details of each Windows 11 HDMI setting.
1. Scale
You can change the size of text, apps and other items here. The default size is 100%, but you can increase it to 125% if the text is too small to see on the monitor. Other options are like 150% and 175%.
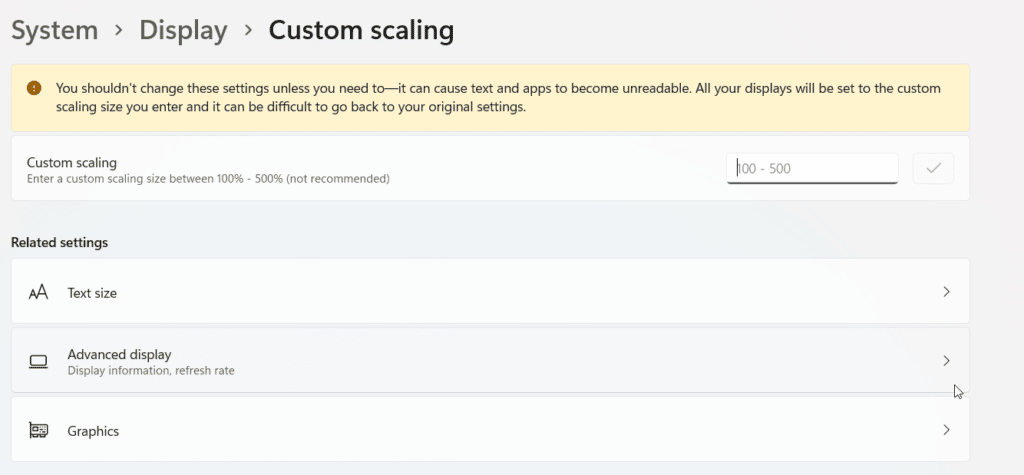
Click the arrow next to “Scaling” for further customization options. You can set custom scaling, but be warned that this is an irreversible setting. Only change the scaling if the Windows 11 screen doesn’t fit your monitor.
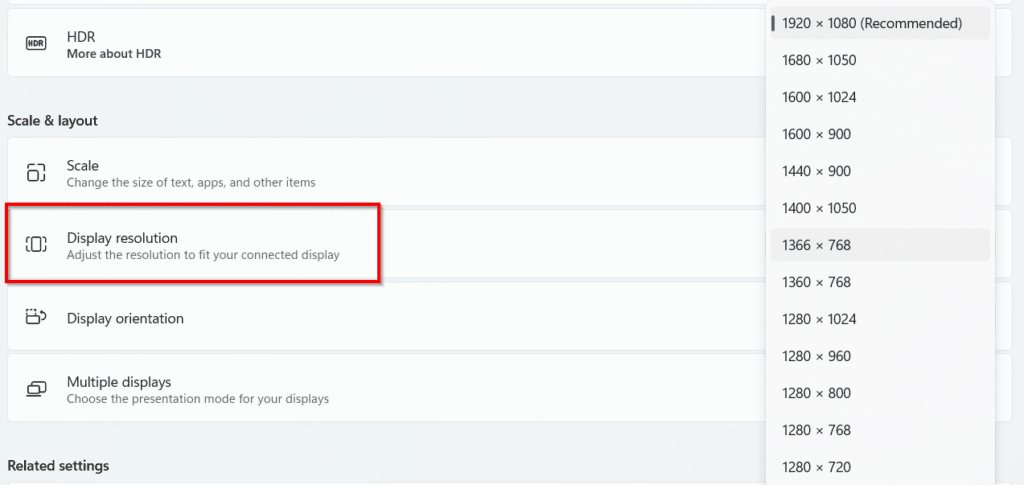
2. Display Resolution
Windows 11’s HDMI settings are important. Depending on your TV or monitor, different values will be populated. The recommended screen resolution is generally taken as the default.
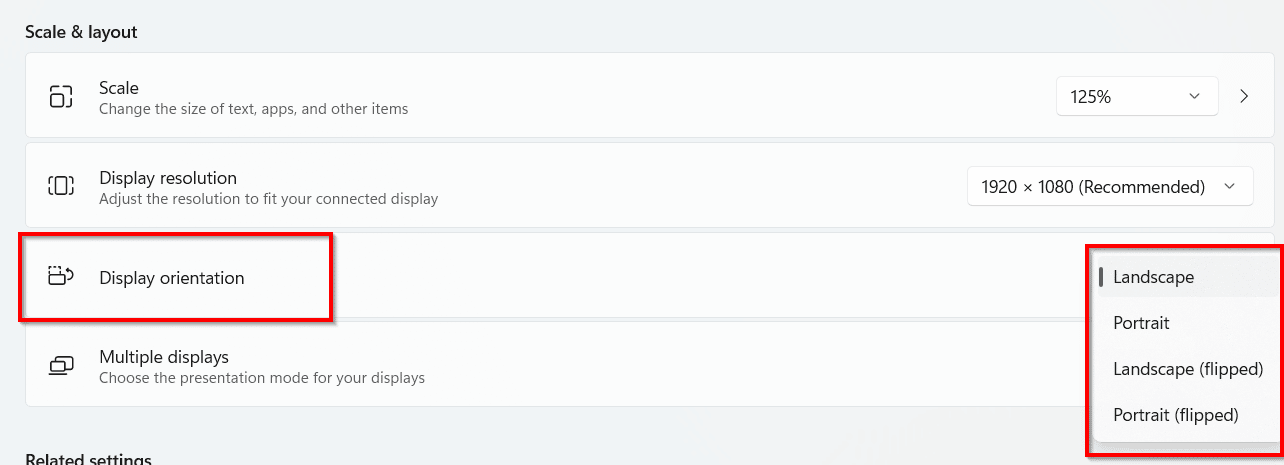
3. Display Orientation
The orientation of your TV screen or display can be set to landscape or portrait depending on the size of the screen. The aspect ratio 4:3 is best for portrait mode, and 16:9 is best for landscape mode. Flipped versions are also available.
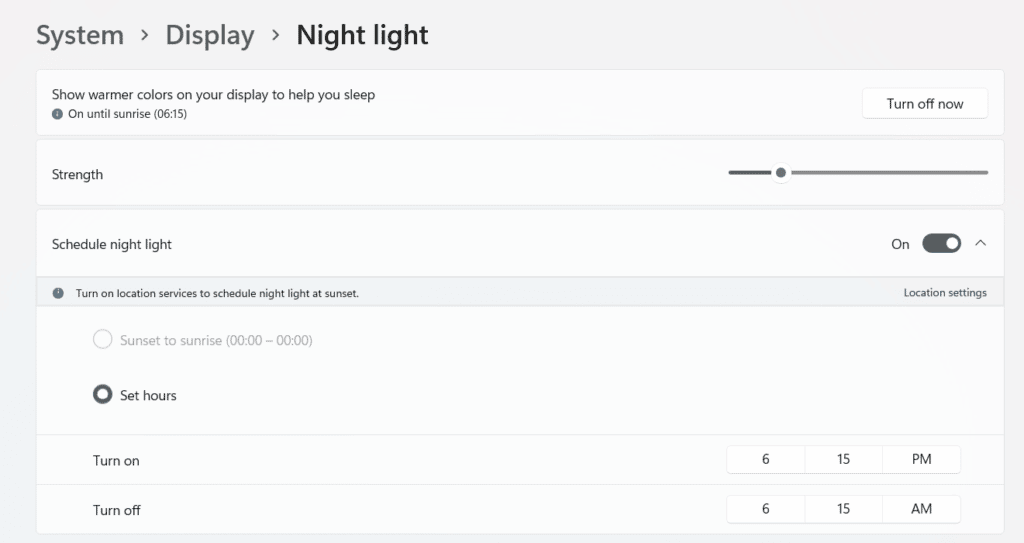
4. Night light
If you want to use warmer colors to help reduce blue light on your monitor, you can turn this option on. You can also set start and end times for when the filter should be applied.
5. Color Profile
If you’re playing video games, you might want to consider changing your color profile to get the most out of your graphics card. To do this, open the Color Management settings window and select your graphics card from the Device drop-down list. Then, click the Change button under Color Management Mode and select either RGB Full or RGB Limited.

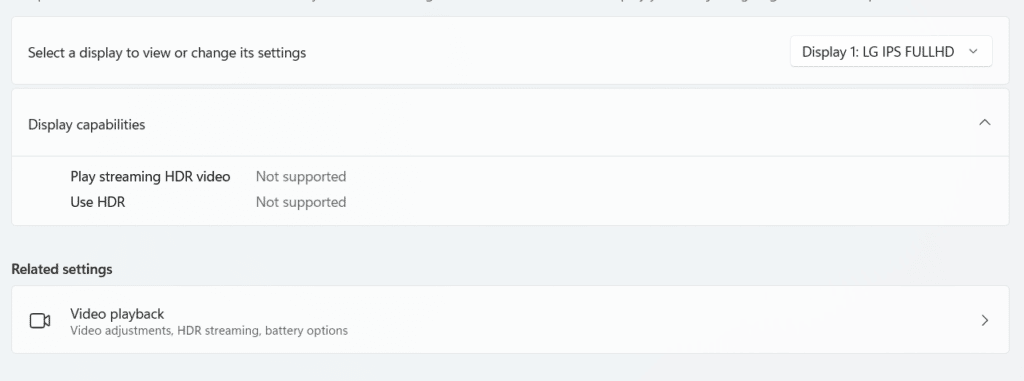
6. HDR
If you want a brighter and more vibrant picture, you should use this setting. It takes advantage of your graphics card or motherboard’s support for a high dynamic range of colors. Note that not all monitors are compatible with this feature.
This HDMI setting adjusts the color in pixels to provide a more realistic image for games and movies.
Conclusion
Windows 11 HDMI settings are just the beginning. You can also set more advanced settings based on the number of monitors and color profiles.
To get started, open the Display tab in the Windows 11 Settings app. From there, you can view information about your display, like the bit depth, color format, color space and display adapter properties.
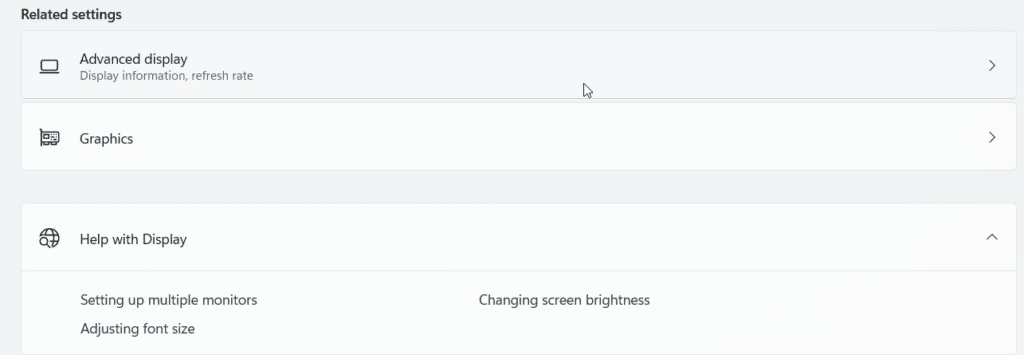
If you’re having any issues with the current display, try changing the screen refresh rate. This can be done through the graphics settings, which allows different apps to set different display settings based on your motherboard and graphics card.

Hello, My name is Shari & I am a writer for the ‘Outlook AppIns’ blog. I’m a CSIT graduate & I’ve been working in the IT industry for 3 years.